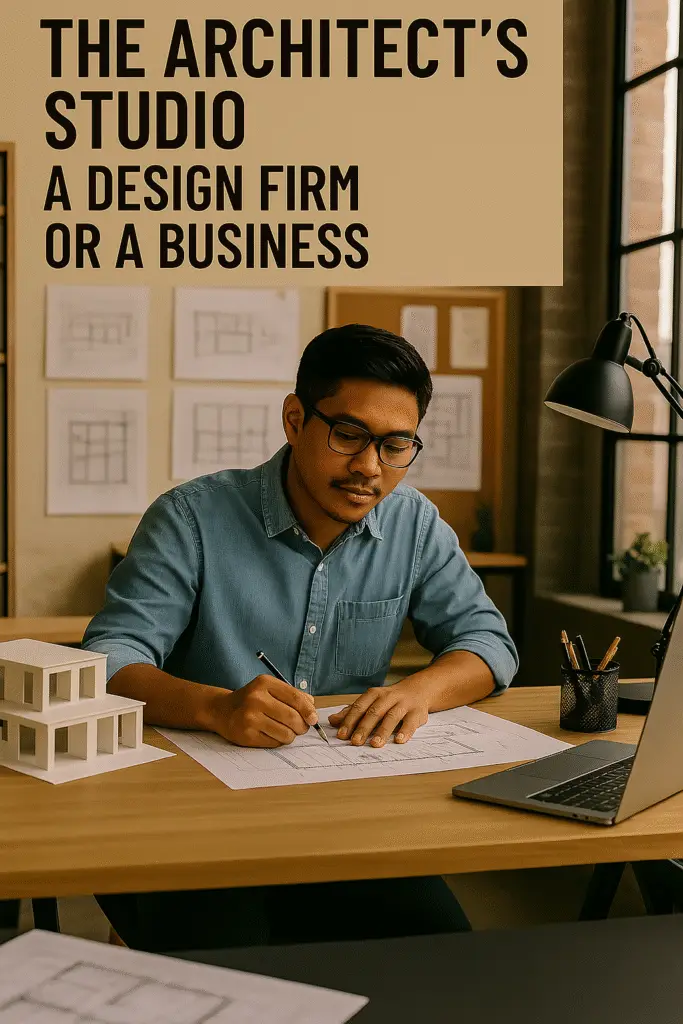
From Sketch to Render: Our Process
How a first sketch becomes a render, step by step, in our studio.
Every render in our studio begins as a sketch. Seeing the steps can help you understand what to expect and where your input matters most.
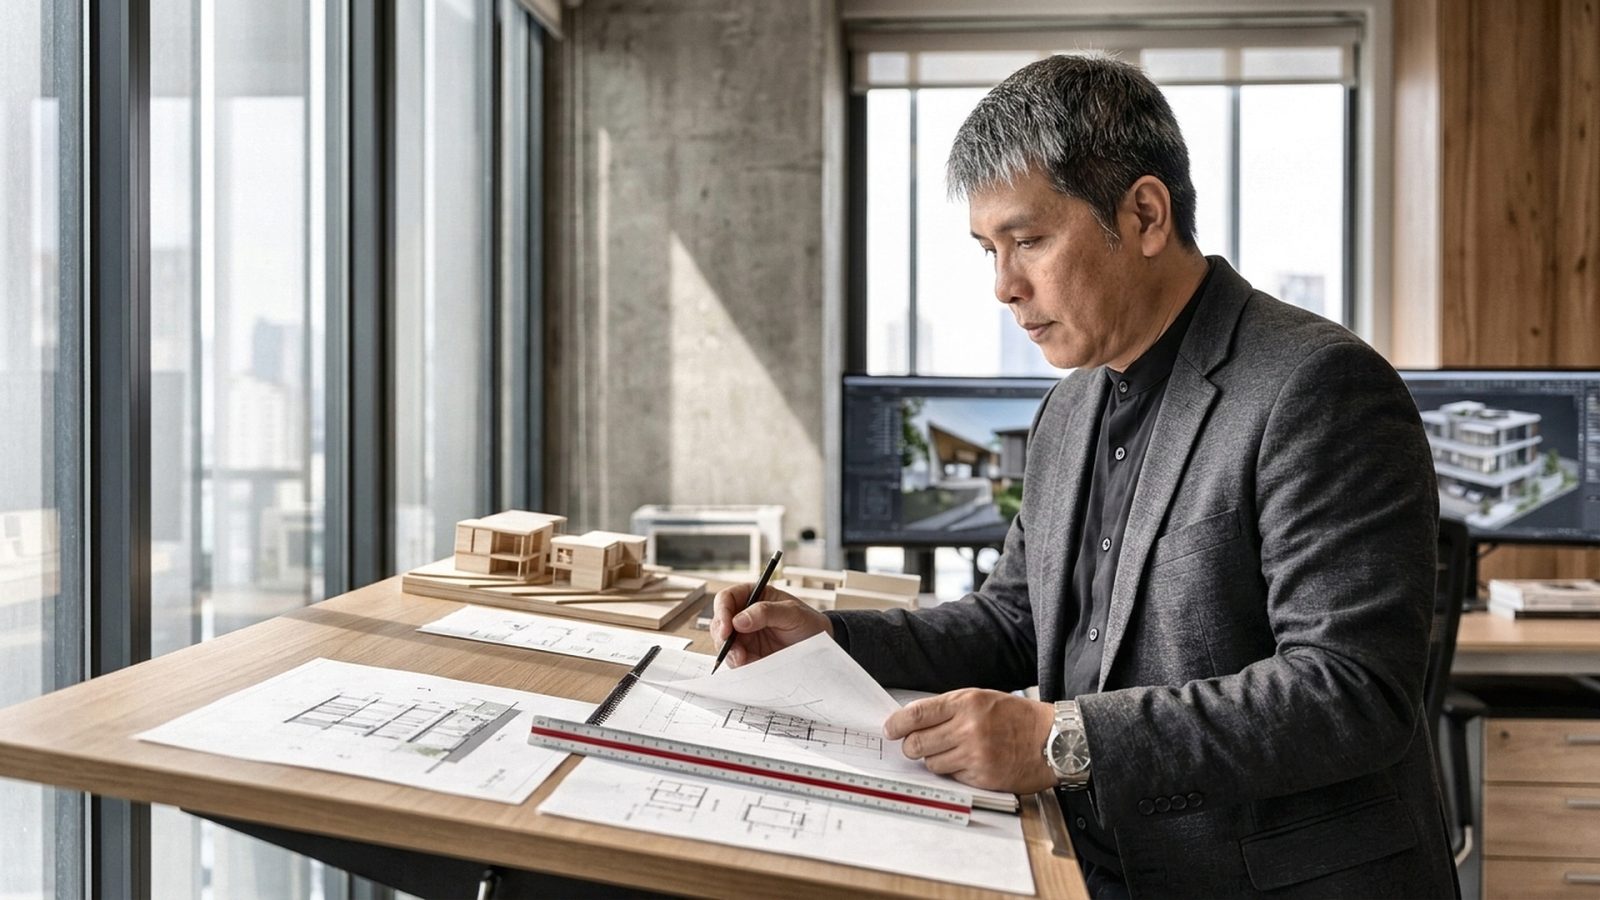
This is how we work. Other studios may use a different order, and the steps change with each project.
01Step one: listen and sketch
The earlier you comment, the cheaper the change.
We start with your brief, your lot and your budget. Quick sketches test ideas, and they are cheap to change.
We share the sketches early so you can react before we spend time on detail. Sketches are meant to be rough so that changing them feels free. Example: if you say the kitchen feels too small at the sketch stage, we move a wall with an eraser. Why this works: the earlier you react, the less it costs to change your mind.
02Step two: plans and a simple model
The chosen sketch becomes a plan, and then a simple 3D model. The model shows size and proportion, without finishes.
You review it, comment and ask for changes. A simple model shows size and proportion without the distraction of colour. Example: walking through the model may show that the living room looks narrower than you imagined. Why this works: you judge the shape of the house before money goes into finishes.
03Step three: materials and light
Once the form is right, we add materials, colours and lighting. This is where the picture starts to feel like a house.
We may ask you to choose between a few options. Materials and light change how a space feels more than most people expect. Example: the same wall can look warm in timber tones and cold in grey. Why this works: choosing from a few options now helps you decide with your eyes, not just with words.
04Step four: the render
The final render shows the design with materials and light, as close to the intended result as we can make it. It also helps contractors understand the design.
Remember it shows intent, and real materials will differ a little. A render is a picture of intent, not a promise of every detail. Example: the tile in the render may be a close match, and the real tile will vary a little. Why this works: knowing this keeps your expectations accurate, and the render still helps the contractor understand the design.
05Why we show our process
Seeing the steps helps you know when your input matters most. The earlier you comment, the easier it is to adjust the design.
If a step is unclear, ask us, and we will explain it in plain words.
Our process changes a little with each project, because each lot and family is different. The order stays the same: listen, sketch, refine and show.
If you want to see an example, ask us and we will walk you through one.
At every step you can ask to see work in progress. Nothing is hidden, and nothing is final until you agree. Ask any question, however small, and we will answer in plain words. Knowing the process tells you when your voice matters most. Example: ask to see work in progress at the sketch stage, not after the render is finished. Why this works: your input arrives while it is cheapest to act on.
06What we need from you
Curious about working with us?
Book a short call and tell us what you are planning.
Book a free 15-minute consultation Limited slots each week