
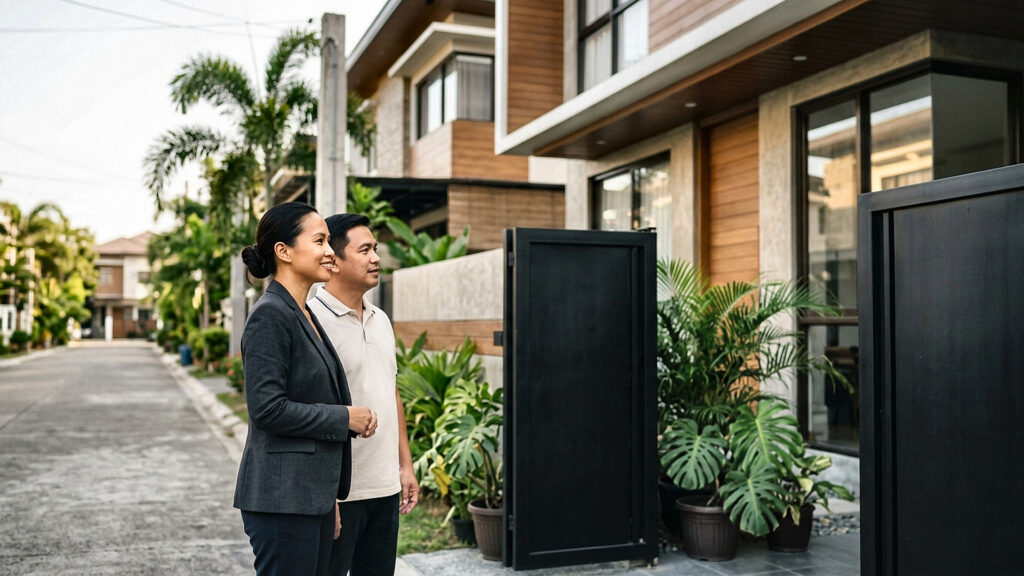
A project is easier to understand when you can follow it from the first look at the lot to the final render. This is one real Taytay build, told step by step.
This post needs the real project from Raymund: the owner’s permission, the photos and the facts. The structure below is a template until then.
1. The lot
Describe the lot: its size, shape, slope, access and what the owner wanted to do with it. Add the first photo here.
State what questions came up first, such as flooding, access or setbacks.
**Real only**: Use a real project, with the owner’s permission. Nothing invented.
2. The brief and the first sketches
Describe what the owner asked for and what the budget allowed. Show an early sketch and explain how it responded to the brief.
State what changed after the first review.
3. The design
Show the plans and describe the main design decisions, such as orientation, ventilation and the layout of rooms. Explain why each choice was made.
Keep to facts that can be shown in drawings.
4. The render
Show the final render and explain how it relates to the plans. State clearly that the render shows intent.
Close with what the owner said, with their permission, and what the next step is.
5. What you can learn from it
Reading a real project helps you see the order of decisions, from the lot to the render, and where owners are usually asked to decide.
Compare it with your own lot and note what is similar and what is different.
A real story also shows that every project has surprises. Notice how the team handled them, and what the owner decided.
We will publish this only with the owner’s written permission.
Raymund will add the real facts, dates and photos, and the owner will approve the text. Until then this stays a structure only.